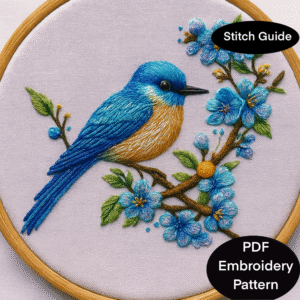
Pattern : BbirdPDF
Overall Approach
- Preparation:
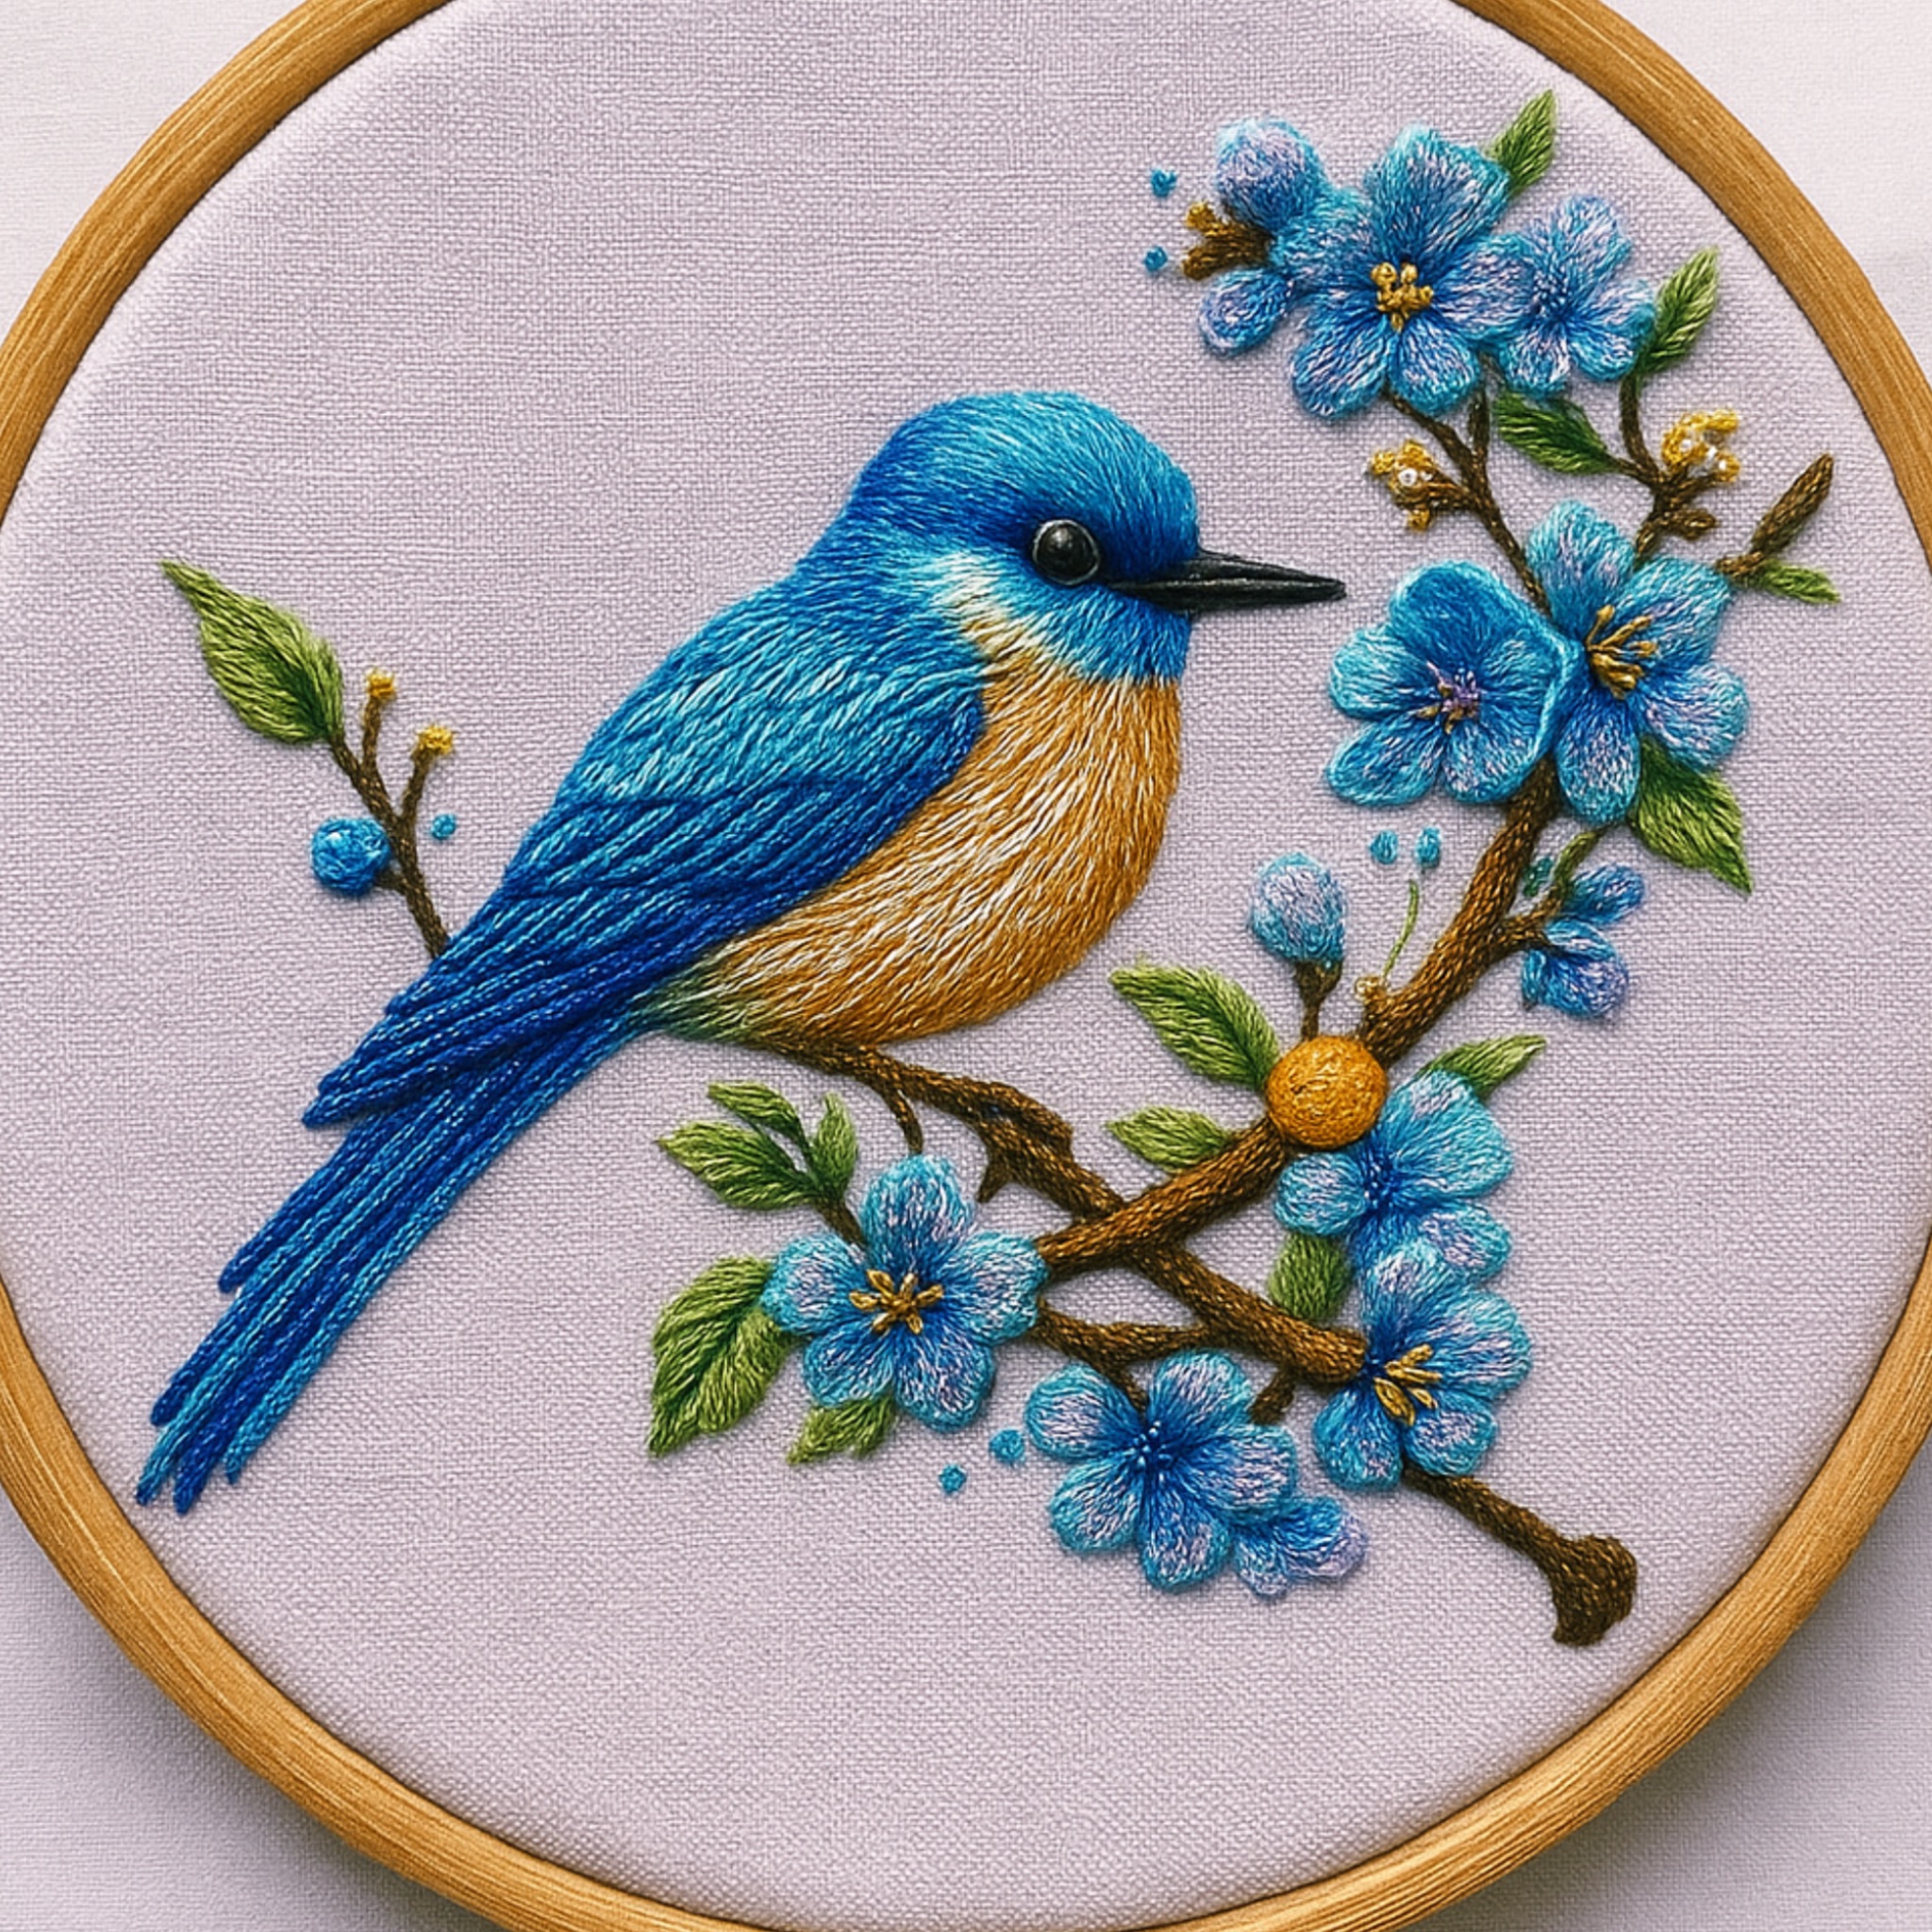
- Fabric: A medium-weight, tightly woven fabric like linen, cotton, or evenweave would be ideal. The light background in the image suggests a natural or light grey/off-white fabric.
- Hoop: A sturdy embroidery hoop (like the one shown in the image) is essential to keep the fabric taut.
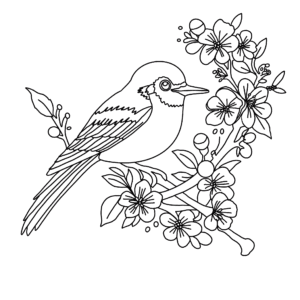
- Pattern Transfer: The design would be transferred to the fabric using a preferred method (e.g., water-soluble pen, heat-transfer pen, tracing paper, light box).
- Order of Stitching: Generally, it’s best to work from the back layers to the front, and from larger areas to smaller details.
- Branches: Start with the main branches.
- Leaves: Then the leaves.
- Flowers: The flowers would follow, likely building up petals.
- Bird: The bird would be a prominent feature, probably stitched last to allow its colors and textures to stand out.
- Small Details/Highlights: Finally, any tiny details or highlights like berry dots or flower centers.
Stitches to Use (with suggested thread strands):
- Bird:
- Long and Short Stitch (or Needle Painting): This is the primary stitch for the bird’s body, creating that smooth, feathered look. It involves varying lengths of straight stitches that interlock, blending colors seamlessly.
- Body (blues): Use 2-3 strands for good coverage and blending.
- Belly (golds/oranges): Use 2-3 strands for good coverage and blending.
- Satin Stitch: For smaller, solid areas like the head or parts of the wings if not doing long and short stitch throughout. Could also be used for the eye’s highlight. (2-3 strands)
- French Knot or Seed Stitch: For the eye, a small French knot with black thread. (1-2 strands)
- Back Stitch or Outline Stitch: For the beak and possibly very fine outlines if desired (though the long and short stitch often negates the need for extensive outlining). (1-2 strands)
- Long and Short Stitch (or Needle Painting): This is the primary stitch for the bird’s body, creating that smooth, feathered look. It involves varying lengths of straight stitches that interlock, blending colors seamlessly.
- Branches:
- Stem Stitch: Excellent for creating smooth, slightly textured lines for the branches. (2-3 strands)
- Back Stitch (thicker): Could also be used for the main structure of the branches, then filled in with a couple more rows if needed. (2-3 strands)
- Couching: If the branches are very thick, a couching stitch could be used where thicker threads are laid down and secured with smaller stitches. (Variable strands)
- Leaves:
- Satin Stitch: For solid, smooth leaves. (2-3 strands)
- Fishbone Stitch: Great for leaves as it creates a central “vein” effect and fills the leaf shape. (2-3 strands)
- Straight Stitch/Long and Short Stitch: For slightly more textured or variegated leaves. (2-3 strands)
- Stem Stitch: For the leaf veins if they are prominent. (1-2 strands)
- Flowers:
- Satin Stitch: The petals are built up in layers for dimension. The petals appear quite full and raised. (2-3 strands per petal, varying direction slightly for depth).
- French Knot: For the flower centers (yellow/gold). (2-3 strands, wrapped multiple times for a fuller knot).
- Pistil Stitch/French Knot with Tail: for the longer, wispy yellow elements in the flower centers. (2-3 strands)
- Bullion Stitch: While less common for flatter flowers like these, a bullion knot could be used for a very textured, raised center or individual petals if a more sculptural effect was desired. (Not overtly visible here but an option).
- Berries/Small Accents:
- French Knot: For the blue berries and the single gold berry. (2-3 strands, multiple wraps for plumpness).
DMC Thread Color Suggestions:
The beauty of this piece is in the subtle variations and blending of colors. Here are some suggestions, keeping in mind that exact matches are difficult without seeing the original threads, and personal preference plays a huge role.
- Bird – Blues (Top to Bottom/Light to Dark):
- Light Sky Blue: DMC 3760, 996, 794
- Mid-Blue: DMC 824, 798, 3845
- Darker Blue/Teal: DMC 3843, 823, 995
- Very Dark Blue (for shading/outline): DMC 336, 939
- Bird – Belly/Chest (Yellow/Orange/Brown):
- Light Gold/Cream: DMC 746, 745, 744
- Orange-Gold: DMC 728, 729, 972
- Light Brown/Tan (for shading/blending): DMC 783, 782, 839
- Bird – Beak/Eye:
- Black: DMC 310
- White (for eye highlight): DMC B5200
- Branches:
- Medium Brown: DMC 839, 840, 842
- Dark Brown/Grey-Brown (for shading): DMC 3031, 3021
- Leaves:
- Light Green: DMC 3348, 471, 472
- Medium Green: DMC 3347, 936, 580
- Dark Green (for shading/veins): DMC 934, 3363
- Flowers – Petals (Blues):
- Light Sky Blue: DMC 3760, 996, 794
- Mid-Blue: DMC 824, 798, 3845
- Slightly Greener Blue/Teal: DMC 3810, 991 (for subtle variation)
- Flowers – Centers (Yellow/Gold):
- Bright Yellow: DMC 743, 742, 741
- Orange-Yellow: DMC 728, 972
- Berries/Small Accents:
- Blue Berries: DMC 824, 996
- Gold Berry: DMC 728, 743
Detailed Stitching Process (Example for the Bird):
- Outline: Lightly mark the outline of the bird on the fabric.
- First Color Pass (Bird Body – Blues): Start with the lightest blue thread (e.g., DMC 3760) from the top/head area. Work long and short stitches, following the natural curve of the bird’s feathers. Make sure stitches are close together to avoid gaps.
- Blending Blues: As you move down the back, introduce the next darker shade (e.g., DMC 824). Overlap the ends of the previous stitches with the new color, varying the stitch lengths to create a smooth transition. Continue with progressively darker blues (e.g., DMC 3843, 336) for the wings and tail, building up layers and directionality for the feathered effect.
- Belly Colors: Switch to the belly colors (e.g., DMC 746, 728, 782). Start with the lightest color near the top of the belly and blend downwards, using long and short stitches to create the soft transition from blue to gold/orange.
- Eye and Beak:
- For the eye, use DMC 310 (black) and create a small, neat French knot. Add a tiny straight stitch or even a single white satin stitch (DMC B5200) for the highlight.
- For the beak, use DMC 310 (black) with 1-2 strands of back stitch or outline stitch, filling in with small satin stitches if needed.
- Refine and Add Detail: Step back and assess. Add more stitches where coverage is sparse or blending needs improvement. Add tiny individual straight stitches to suggest wisps of feathers if desired.
Tips for Success:
- Tension: Maintain even tension in your stitches for a smooth appearance.
- Thread Strands: Varying the number of thread strands can create different textures and levels of detail. More strands for fuller areas, fewer for fine lines.
- Stitch Direction: Pay close attention to the direction of your stitches, especially in long and short stitch, to mimic the natural flow of feathers or leaves.
- Layering: For dimension, especially on petals and leaves, consider layering stitches or creating slight overlaps.
- Practice: Hand embroidery takes practice. Don’t be afraid to experiment and even unpick stitches if you’re not happy.
- Reference: Keep the reference image handy and refer to it frequently to guide your color choices and stitch placement.
Leave a Reply