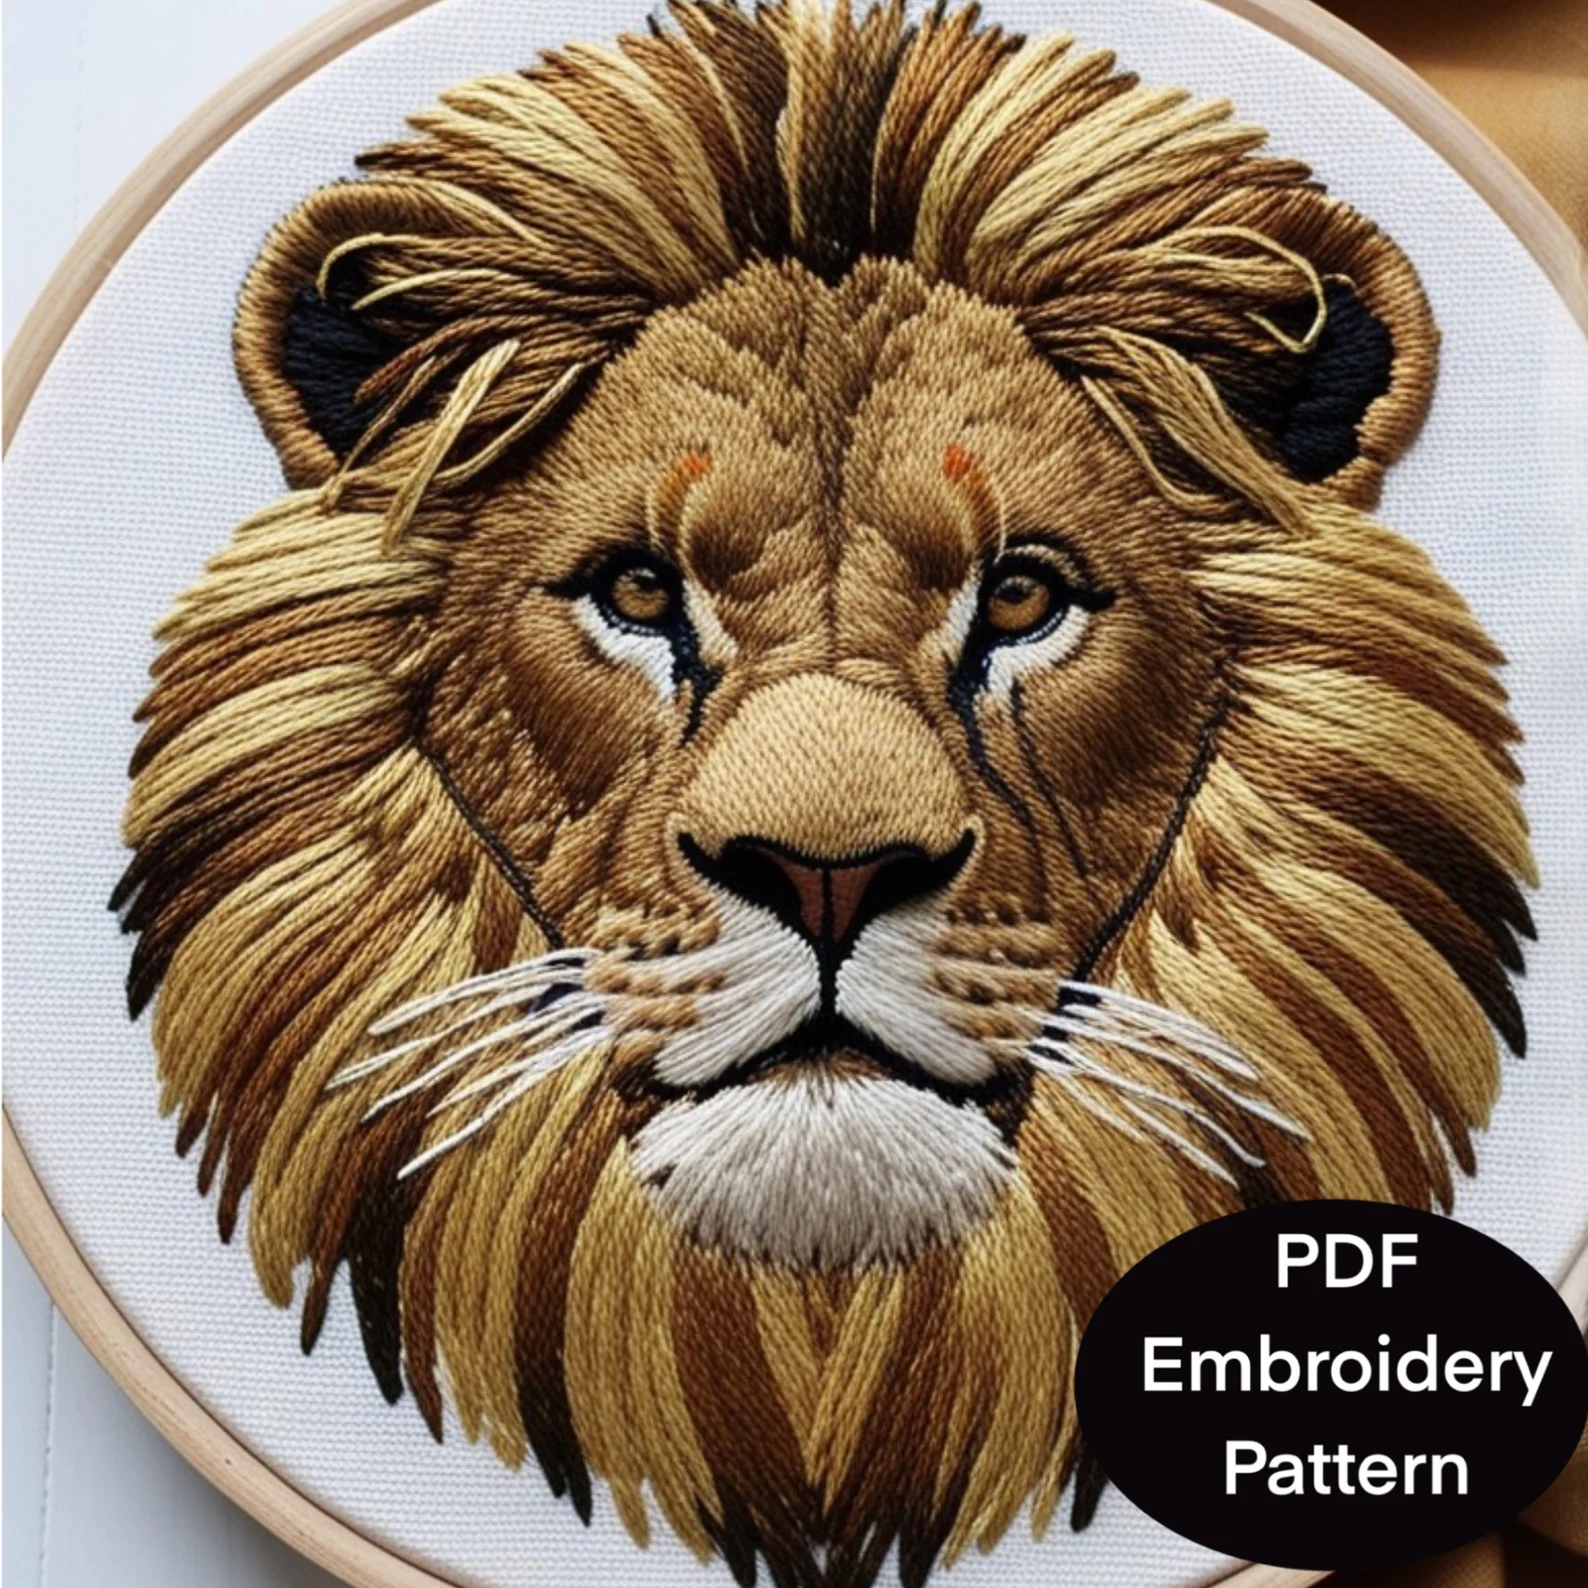
To hand embroider this lion design, follow these steps:
### **Materials Needed:**
– **Fabric:** White or light beige cotton or linen
– **Embroidery Hoop:** 8-10 inches for stability
– **Needles:** Embroidery needles (size 7-9)
– **Scissors:** Small embroidery scissors
– **DMC Embroidery Floss Colors:**
– Dark brown (DMC 3371)
– Medium brown (DMC 801)
– Light brown (DMC 435)
– Golden tan (DMC 977)
– Dark gold (DMC 3826)
– Light gold (DMC 3822)
– Cream (DMC 712)
– White (DMC Blanc)
– Black (DMC 310)
—-
### **Step-by-Step Embroidery Process:**
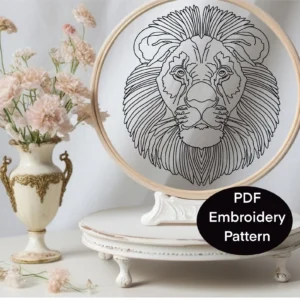
#### **1. Transfer the Design**
Use a water-soluble transfer pen or iron-on transfer paper to copy the lion’s face onto the fabric. Ensure details like the eyes, nose, and whiskers are clearly marked.
#### **2.** Embroider features
– **Use Back Stitch (DMC 3371 or 801)** to outline the facial features, eyes, nose, and major fur sections. This will create a guiding structure for the shading.
#### **3. Embroider the Eyes**
– **Black (DMC 310) for the pupil** – Satin stitch
– #### **Golden tan and** medium brown **(DMC 977 and 801) for the iris** – Satin stitch
– **White (DMC Blanc) for the eye highlights** – Satin stitch or French knots for realism
#### **4. Nose & Mouth Details**
– **Black (DMC 310) for the nose** – Satin stitch for a smooth finish
– **Dark brown (DMC 3371) for shading** – Short and long stitches
– **White (DMC Blanc) for the whiskers** – Straight stitches
#### **5. Mane Embroidery (Layered Fur Effect)**
– **Dark Brown (DMC 3371), Medium Brown (DMC 801), and Golden Tan (DMC 977)** – Long and short stitches following the natural hair direction. Start with the darkest shades at the roots and blend into lighter tones. Use 6 strands of floss.
– **Light Gold (DMC 3822) and Cream (DMC 712)** – Used for the outer, highlighted portions of the mane, adding texture and dimension.
– **Use a few strands of Black (DMC 310)** to define depth in the mane.
#### **6. Face Fur Details**
– **Short and long stitches** in brown shades (DMC 801, 435, and 3826) to create a soft fur texture.
– **Lighter threads (DMC 712 and 3822)** near the cheeks and chin for highlights.
#### **7. Final Touches**
– **Refine shading** using single-thread strands for realistic blending.
– **Add whiskers and small fur details** using straight stitches in white and cream.
—-
### **Tips for a Realistic Look:**
– Use **varying strand thickness** (2-6 strands) for different textures.
– Keep stitches following **natural fur direction**.
– Blend colors using **long & short stitches** to avoid harsh transitions.
– Use **lighter tones for highlights and darker ones for shadows**.
This embroidery project is time-intensive but creates a stunning, lifelike lion portrait!
[https://youtu.be/G8gg0kk2KIs?si=zvfOtD-9w4Pi3qhg](https://youtu.be/G8gg0kk2KIs?si=zvfOtD-9w4Pi3qhg)
Download:
Majestic_Lion_Embroidery
Leave a Reply