Introduction: Crafting Your Own Perfectly Fitted Bed Sheets
Welcome to our step-by-step tutorial on creating custom-fitted bed sheets – a perfect project for beginners and seasoned crafters alike! There's something incredibly satisfying about sleeping on sheets that you've personally crafted to fit your bed like a glove. In this comprehensive guide, we will walk you through the process, from measuring your mattress to sewing the perfect fitted sheet.
What You'll Need:
Before we dive in, let's gather the essential supplies:
- Tape measure
- Scissors: For cutting your fabric and elastic.
- Elastic: The key ingredient to ensure your sheet hugs your mattress snugly.
- Cotton Sheeting Fabric 240cm or 280cm wide: Choose your favorite color or pattern.
- Sewing Thread: A sturdy thread that matches your fabric.
- Overlocker (Serger)(optional) and Straight Sewing Machine: We'll use both to achieve professional-quality results.
Why Craft Your Own Fitted Sheet?
Crafting your own fitted sheets allows you to select the fabric that suits your style and preferences, ensuring a good night's sleep in comfort and style because the sheet won’t pop off the mattress the way so many standard sheets that you buy seem to do. Additionally, it's a fantastic way to unleash your creativity and add a personal touch to your bedding.
Perfect for Beginners:
Don't worry if you're new to sewing and pattern drafting; we've designed this tutorial with you in mind. We'll explain every step in detail, complete with images and a video tutorial to make the process smooth and enjoyable.
Are you ready to dive into the world of DIY bedding? Let's get started :
Step 1 : Measuring your mattress
Take the time to measure your mattress carefully. The success of the project depends on this step. Measure across the width, length and height. Write the measurements down.
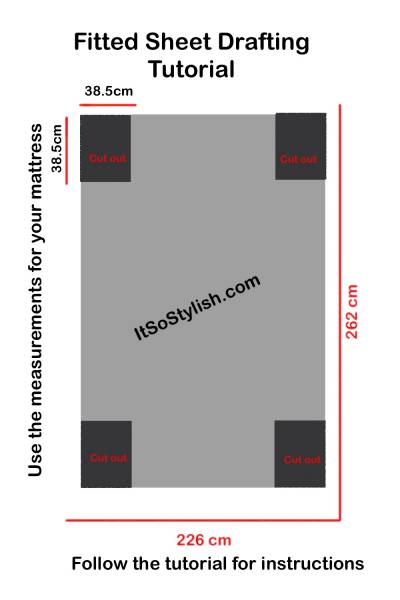
Step 2 : Calculating the correct size
Step3 : Cutting the sheet
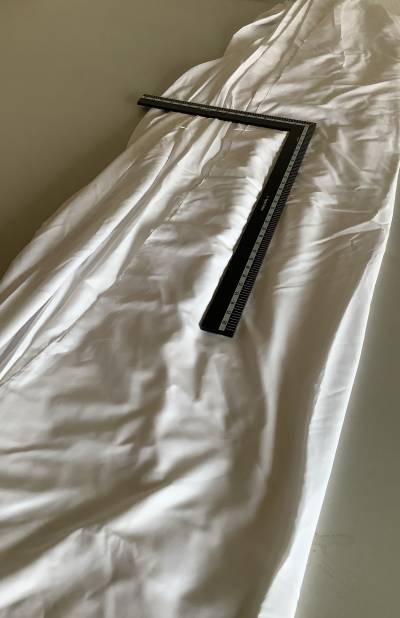
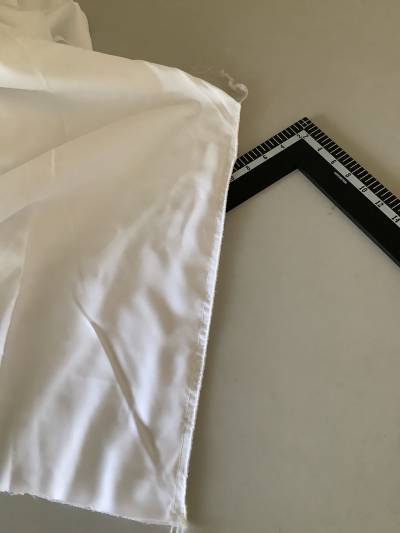
Once you’ve measured and marked the width and length on the sheeting using tailor’s chalk, cut the sheet. Next, cut four squares out of each end for the 40cm(use your measurement) turn-in. These squares should be 1.5cm less than the height measurement. For the calculations above that would be 38.5cm (see image below)
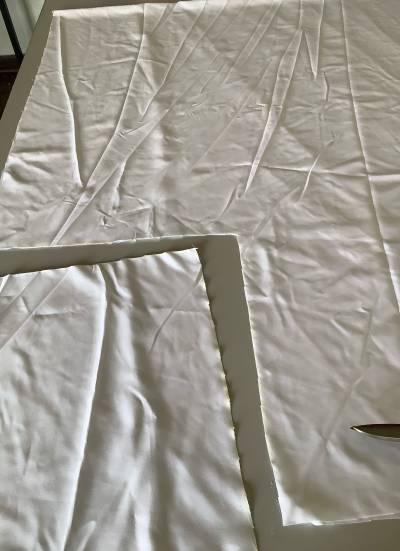
Step 3 : Sewing the Corners
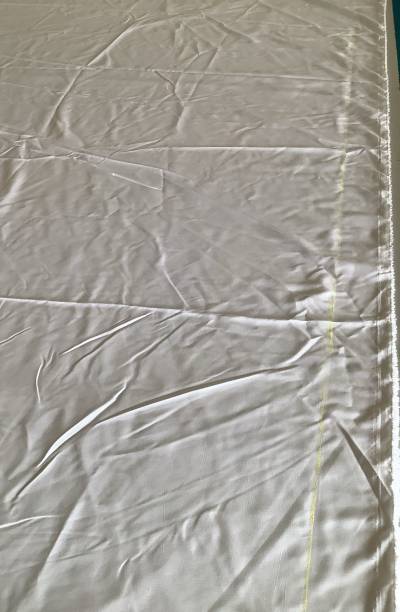
Place the edges of the cutout sections rightsides together and overlock the seam in place. Once each seam is in place stitch the seam at 1.5cm using a straight machine (see video if you’re unsure 😐 of this step 😁). Remember to start and finish the seams with a few back stitches.
Step 4 : Adding the Elastic
Mark a point at 50cm away from each seam on either side. These points mark the area to be elasticated. Sew the elastic at maximum stretch to each marked section. Use an overlocker to attach the elastic. If you don’t have an overlocker, use a zigzag or stretch stitch on your machine.
Step 5 : Hemming the Sheet
Overlock the edges of the sheet. Turn a hem at the width of your elastic (1.2 cm) and straight stich around the entire sheet, encasing the elastic as you sew.
Step 6 : Dethread and Press
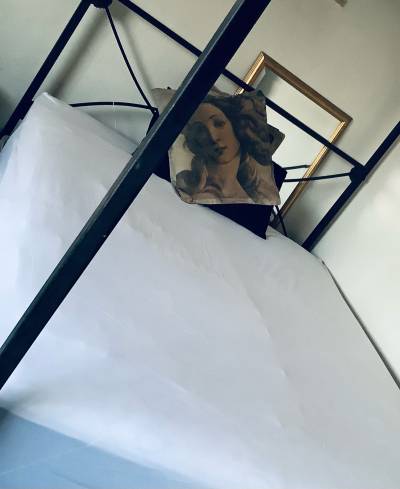
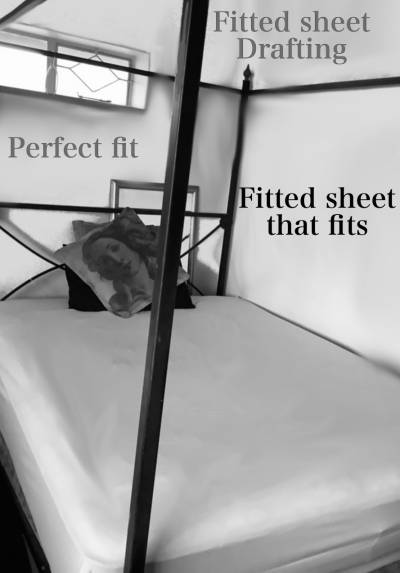
Dethread and press the fitted sheet. Pop it on your bed and never feel the discomfort of a sheet that pulls off the bed while you’re sleeping ever again.